Vertical welding with stick electrodes gives many welders trouble. The molten metal wants to drip downward, the puddle sags, and the bead ends up uneven. But vertical welding is not as hard as it seems once you understand two things: current control and manipulation rhythm. Let’s break it down.
First, understand the two directions: vertical up and vertical down. For structural welding, vertical up is the standard because it gives deeper penetration and stronger welds. Vertical down is faster but shallower, often used on thin sheet or for root passes on pipe. This article focuses on vertical up, the most common technique for strength applications.
Current Selection: Lower Than Flat, But Not Too Low
Current is the first thing to get right. Too high, and the puddle drips like water. Too low, and the electrode sticks or slag inclusions occur. A good rule: vertical current should be 10–15% lower than flat welding current for the same electrode.
Test your setting on scrap. Run a short vertical bead. If the puddle sags immediately or you hear a harsh, spattering arc, reduce current by 5–10A. If the arc is weak and the rod sticks, increase current. The right setting produces a steady, crackling arc and a puddle that stays in place without running.
Electrode Angle: Push It Up
Angle is critical. For vertical up, point the electrode upward at about 15–20 degrees above horizontal (so the tip is angled into the puddle). The arc force then pushes the molten metal upward, counteracting gravity. Do not point straight into the joint or downward — that guarantees drips.
Your gun hand should be steady. Use your other hand to brace if needed. Keep a short arc length — about the same as the electrode diameter (2–3mm). A long arc loses the upward push and creates spatter.
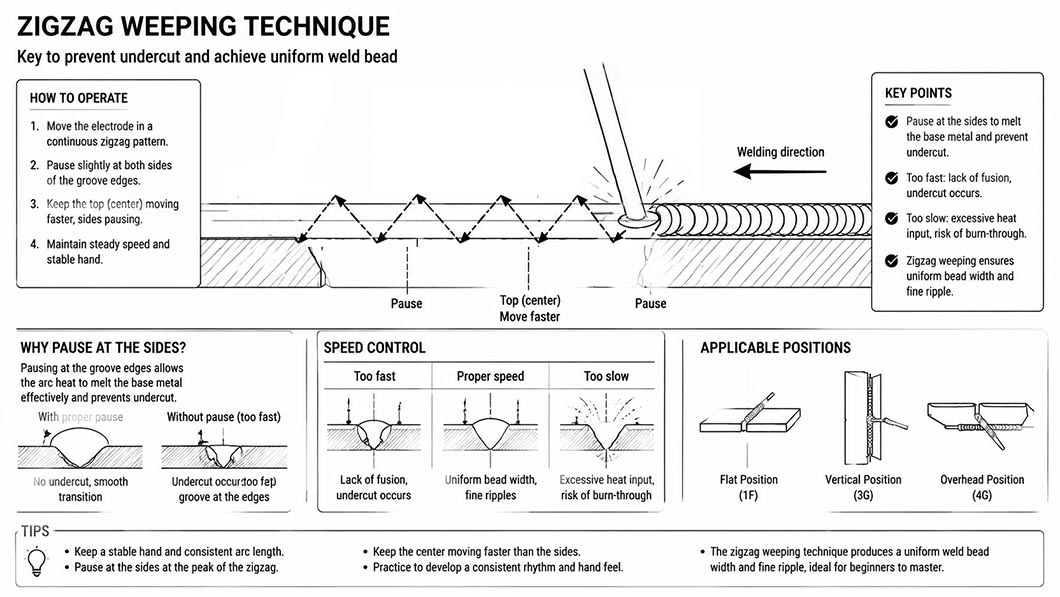
Manipulation: The Triangle or Zigzag With Pauses
Vertical up requires a deliberate weave. Two techniques work well: the triangle (or “Christmas tree”) and the zigzag with edge pauses.
Move the electrode side to side in a triangular pattern. Start at the left edge, sweep up to the center (above the puddle), then down to the right edge. Then up to center, down to left edge, repeating. The upward sweep briefly lifts the arc to cool the puddle while still adding filler. This is excellent for E6010 or E6013.
Move side to side in a tight zigzag, but pause for half a second at each edge. The pause allows the puddle to wet into the sidewall, preventing undercut. Move quickly across the center to avoid buildup. This is easier to learn and works well with E7018.

Watch the Puddle — Not the Arc
Your eyes must follow the trailing edge of the puddle, not the bright arc. The puddle should be semi-circular and “stack” like coins. If it becomes teardrop-shaped and starts to sag, you’re too hot or moving too slowly. Speed up your weave or reduce current.
If the puddle looks like it’s freezing too fast (a narrow, ropey bead), increase current slightly or slow your upward travel. The perfect bead has fine, overlapping scales about 1–2mm thick.
Common Vertical-Up Problems and Fixes
Practice Tips for Vertical Welding
Start on a vertical plate with a backing bar or on a thick plate so you don’t burn through. Run stringer beads without weave first to get the feel of supporting the puddle with arc force. Then add weave patterns. Use a mirror to check your back side if practicing on a T-joint.
Remember: vertical up is a slower process than flat welding. Don’t rush. Each weave step should be deliberate. With practice, you’ll develop a rhythm that becomes automatic.
In the end, vertical welding rewards patience. Get the current in the ballpark, set your angle right, and use a consistent weave with pauses. Soon you’ll find that the puddle stays where you want it — and vertical is no longer a headache.
Post time: May-29-2026