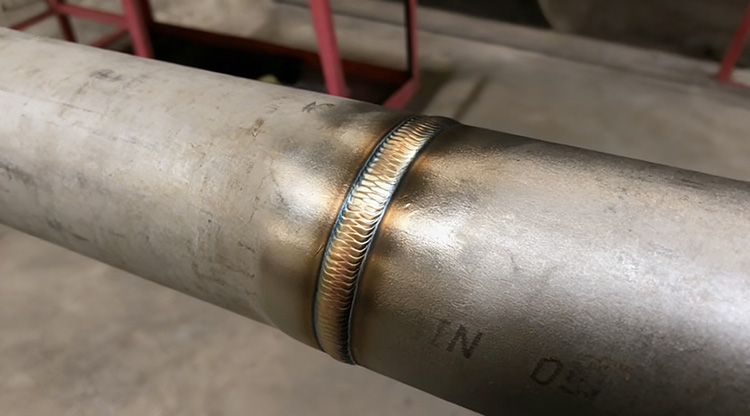
The appearance of the weld matters just as much as its strength. Many of us have been there—the root pass looks great, but when it comes to the cover pass, the weld ends up dark, rough like sandpaper, or the molten metal just drips away. It’s frustrating.
Welding stainless steel is different from welding regular carbon steel. It’s more sensitive—it doesn’t handle heat well. Today, let’s talk about how to make the stainless steel cover weld look neat and tidy.
1. Less Heat, Shorter Arc
Many welders get used to welding carbon steel and tend to crank up the current right away. But stainless steel can’t handle the heat—it turns red and the molten metal runs everywhere.
Dial the current down. Remember: for stainless steel, you want about 20% less current than you’d use for carbon steel. For example, with a 3.2mm electrode, set it around 100 amps. With less heat, the puddle stays manageable and won’t run all over the place.
Keep the arc short. Don’t let the electrode tip wander too far from the workpiece—keep it close. A long arc lets air get in, and the weld will turn black, become brittle, and the slag will be hard to remove.
2. Give the Cover Pass Room to Shine
A poor cover pass often starts with a poorly prepared surface underneath.
Don’t fill the previous pass too high. Before you start your final cover pass, make sure the fill layer sits about 1mm below the base metal surface. Think of it like applying makeup—you need a good base. That little gap gives the cover pass space to spread out evenly, resulting in a smooth, flat bead instead of a bulging mess.
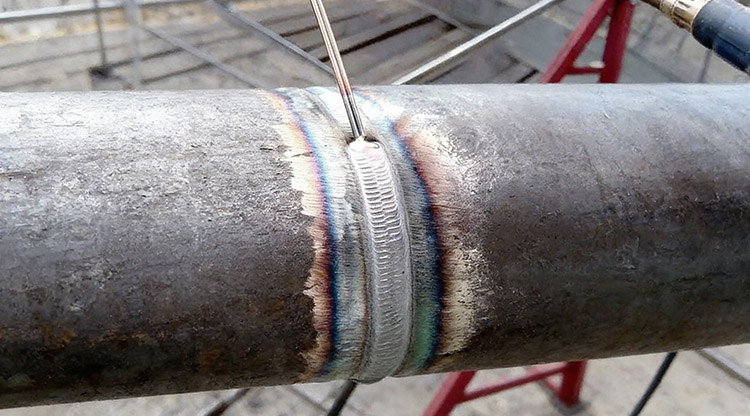
3. Work the Rod Like You’re Sewing—Tight and Steady
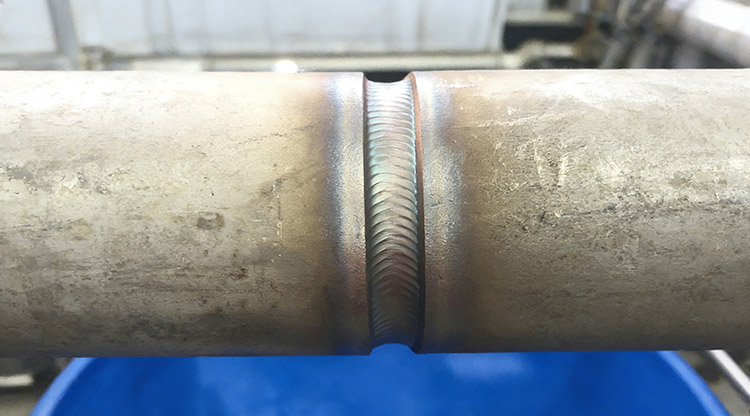
This is the most important part. Getting those tight, beautiful ripples is all about rhythm.
Use the intermittent arc method—step by step. If you’re still getting the hang of it, I strongly recommend using the intermittent (dip and pause) technique. Don’t try to drag the arc continuously—it’s harder to control the temperature.
Overlap your beads. Watch the puddle. When the previous spot cools from bright red to a darker red, move the arc forward, covering about half of it. It’s like laying roof tiles—one overlapping the next. The tighter the overlap, the finer and more beautiful the ripple pattern. If the gaps are too wide, the weld will look like a centipede.
Pause at the edges. When you bring the electrode to the sides of the joint, pause for a brief moment to let the filler metal fuse properly with the base material. This prevents undercut—that nasty groove along the edge of the weld that compromises strength.
4. Let It Cool When It Gets Too Hot
Stainless steel holds onto heat. If you keep welding without a break, the heat builds up, and you risk warping the workpiece or causing defects in the weld.
Wait until it’s cool to the touch. After finishing a pass, feel the area next to the weld with the back of your hand. If it’s too hot, take a break. Let it cool down before starting the next pass. This is called controlling the interpass temperature—it’s a simple trick that goes a long way toward ensuring weld quality.
Post time: Mar-27-2026